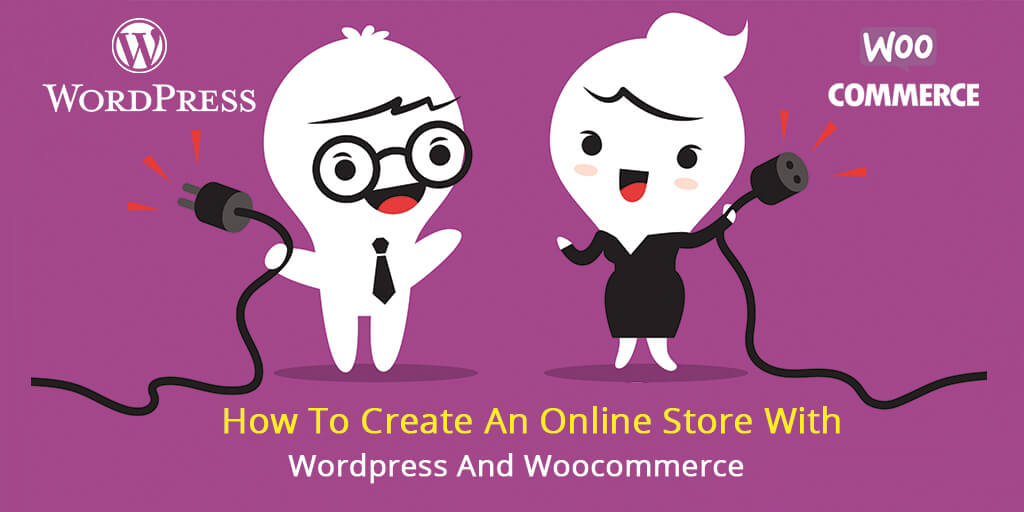
If you are looking to create an online store but low on budget, learning how to create an online store with WordPress and Woocommerce can help you to create one for yourself. The major importance of an online store refers to the process of selling and buying of products and services. Moreover, the importance of online shopping is much wider as it provides retailers with the flexibility to serve existing customers by making the shopping experience comparatively easier. In addition to that, new customers that have no access to the physical location of the store can also pay a visit. Developing an WooCommerce store with WordPress may sound difficult, however, the benefits of online presence overshadow the complications.
While discussing the attributes of WordPress and WooCommerce, it can be stated, while the former is a simple blogging layout, the latter involves complications due to a lot of technical aspects. A normal person would rather choose to stay away from these complications in order to avoid confusion. However, an intelligent person will pay minute attention to details in the current topic. Now it’s your turn to choose the side you want to belong.
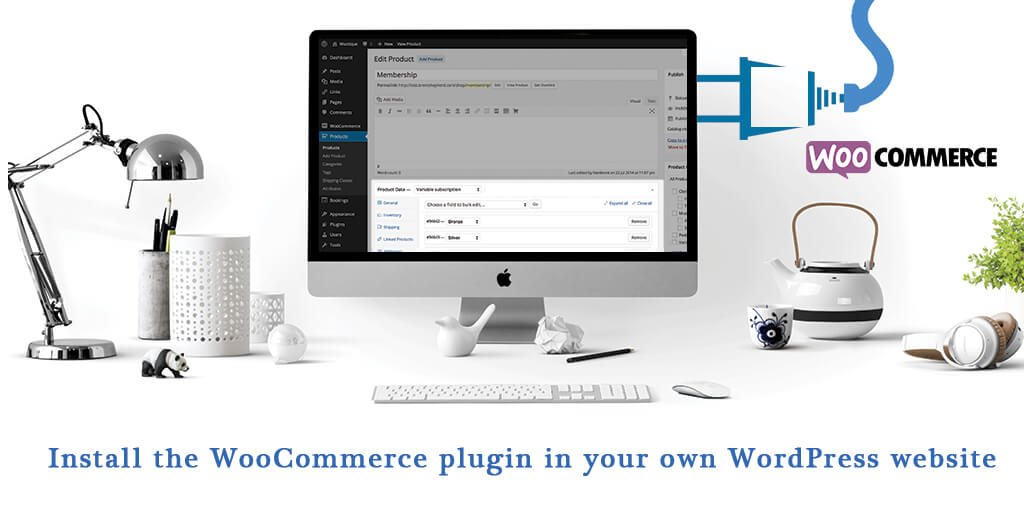
The most important thing that must be done in order to integrate WooCommerce with WordPress is the installation of the plugin. WordPress gives access to installable plugins that can be in the sidebar. In order to know how you can proceed with the first step of how to create an online store with WordPress and WooCommerce, here are the steps:
Once the WooCommerce plugin has been activated, it is highly recommended to go for integrated installation by clicking on “Run setup wizard”, a pink button. This would guide you through the required steps. After the setup is over, click on the pink button to create the first product as per your business.
You can, of course, adjust or change basic settings that you have chosen at any point this including currency, units for product dimensions and weights, taxation requirements, payment options and so on.
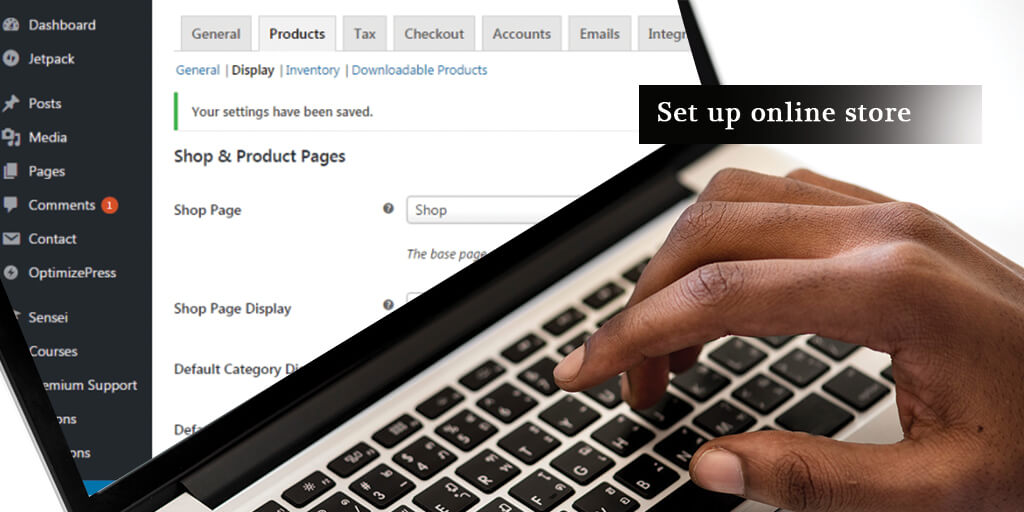
WooCommerce is the best answer for how to create an online store with WordPress. Moreover, it offers an independent settings section that allows you to customize your online store as per your requirements. The setting section includes the following key options:
General:
Helps in changing the headquarter location, location of shipping, sales region, and currency.
Products:
Here product specific settings can be configured that include display options, management of warehouse, ratings for the product and so on.
Tax:
This menu allows the user to specify tax rates as per the shipping policies and filtered as terms by country.
Shipping:
The menu makes shipping easy that allows users terms of shipping for unlimited regions and country.
Checkout:
It is immensely important to create a functional checkout page in order to ensure clear communication and trust. Make use of security gateways and provide options such as payment options that can be used.
Accounts:
Under the ‘tab’ menu account creation can perform easily. This can redirect users to a page that allows them to sign up for the account or even request for a password change.
Emails:
Under this option, you can configure notifications related to customer transactions, e.g. options for notification related to canceled, failed or new can be operated. The customization of emails being sent can also be done, that works on changing the layout of email and recipients.
Note: For basic settings like permalinks, website title, language, time zone etc., you can use the default WordPress options like ‘Settings’ and ‘General’.

Customize navigation and make it easy for users to navigate your website, by generating a central navigation interface with the following four options:
In case you want to create additional pages then click on ‘pages’ option on the sidebar. Use ‘edit’ for making changes and parent pages can be changed by making use of ‘page attribute’ window.
In addition, you can also change themes based on the WordPress interface you have chosen. Make use of the free templates to create a web design that is best suited as per the target group, business nature and products being sold.
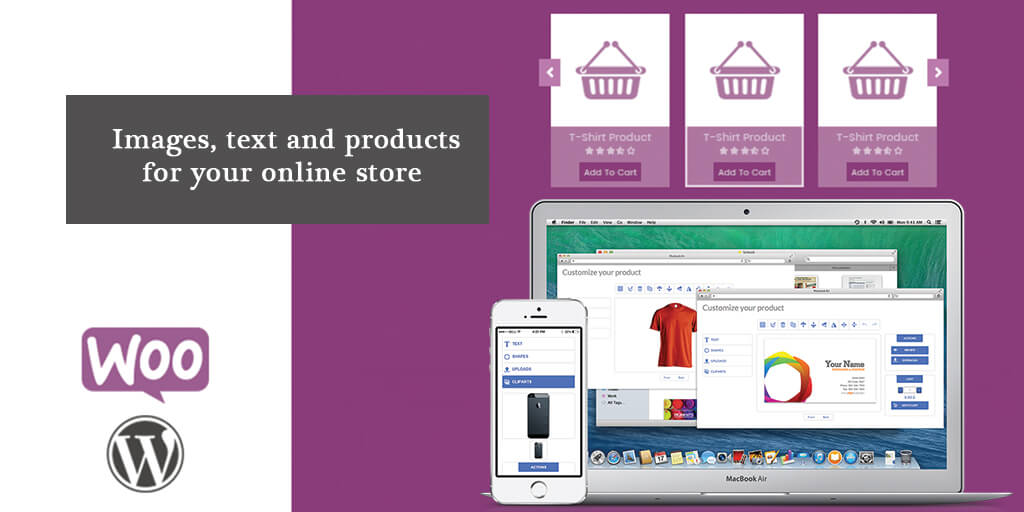
In order to develop a successful online store using WooCommerce, it is important to structure the website and display the content in the right place. By making use of the dashboards of WordPress images and text information along with content can be set up. In order to elaborate the range of products, make use of ‘add product’ option. For example, while uploading a product you can choose from ‘variable’ or ‘simple’ product. Products have been categorizing in terms of color, size and shipping method. In case sending product by physical means seems difficult, then make sure to categorize them as downloadable products by checking the ‘virtual box’.
In order to categorize products, in ‘category pages’ under menu item select ‘category’ as option followed by ‘product’ option. Then enter the name of the URL variant of the product you want to sell. For example, if you want to sell electronic goods, then a thumbnail and a proper description are necessary, finally, click on ‘add product’.
Now check the box for editing the desired menu under ‘product categories’. Then click on ‘update’ to add the electronic product within the store. In order to get a view what the product looks like to your targeted customers click on ‘preview changes’ on the right-hand corner.
Since the plug-in features in WooCommerce is extensive; hence, it’s possible only to introduce a handful of attributes. The most important ones are as follows:
Order:
As soon as customers are acquired. Taking help from ‘order’ section to edit and manage orders placed by customers is recommended. In addition, the status of orders along with the relevant information, that even includes contact details, shipping information, and invoice, can also be managed.
Coupons:
In case you want to retain customers, reward their loyalty with incentives and coupons. Specify the type of discount being provided, followed by the coupon amount and shipping options along with the expiry date.
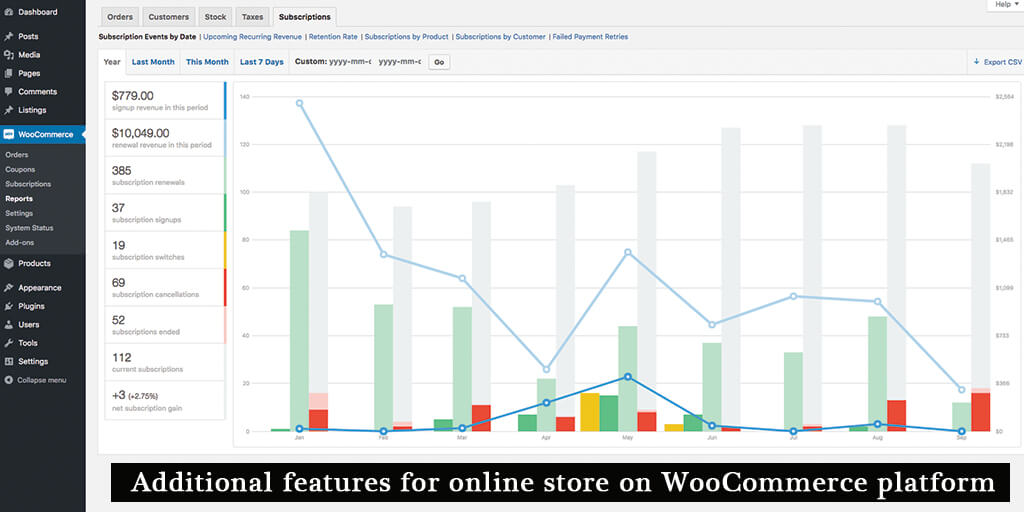
Reports:
Under the ‘report’ option, you can check the revenue created by your online store. Charts present on the website helps to track the commercial metrics. You can view gross turnover, coupon values and many more. Additionally, flexible charts can be used to have a clear overview of the financial aspects of the previous year as per customized time period. Moreover, you can filter products as per type coupon date, product type. This in return allows you to have a clear view of the main products.
So, here ends a short overview of how to create an online store with WordPress and WooCommerce. Create your online store yourself and enjoy the perks.
Be Yourself, Because an Original is Worth more than a Copy!!!


We're eager to work with you. Please share your project goals along with contact information. We will contact you within in 24 hours on business days. Really!